
Have you ever experienced the disappointment of seeing your beloved houseplants wilt and turn yellow due to neglect or environmental stress?
Don’t despair! Today, we’re unveiling a simple yet miraculous hack that will breathe new life into your struggling plants in a matter of seconds.
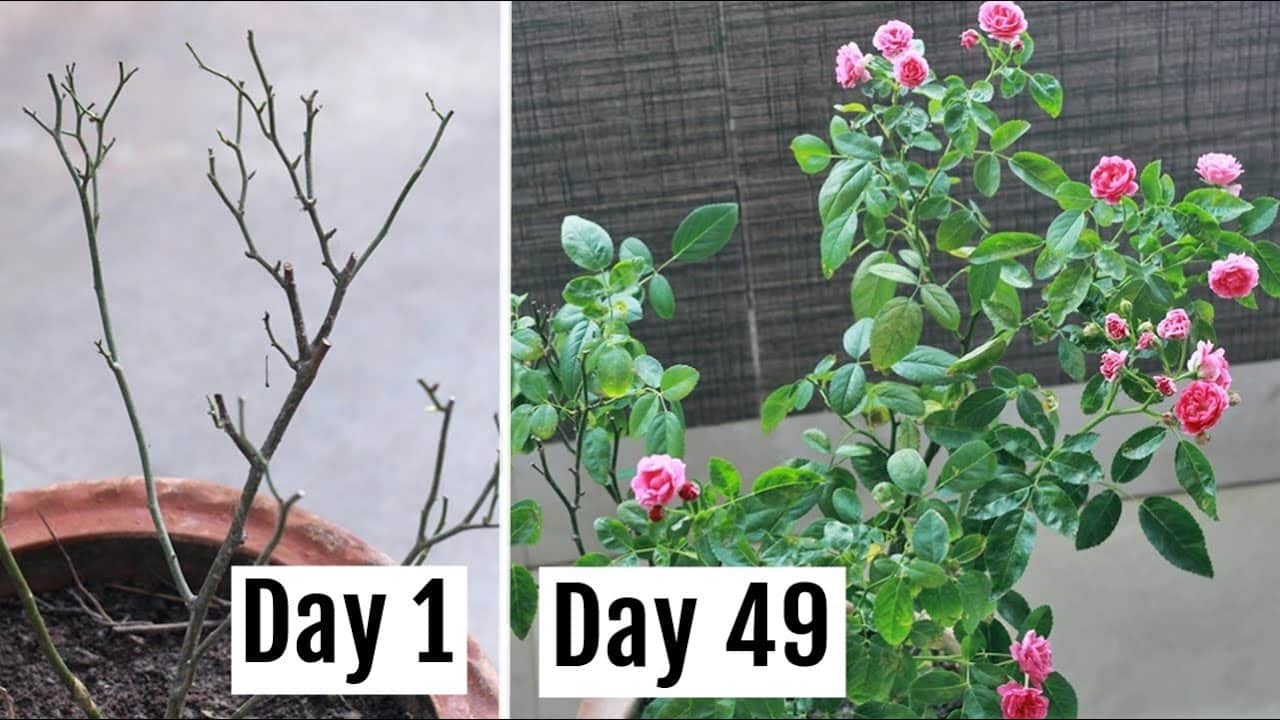
Get ready to witness the transformative power of this technique as we revive dry and yellowed plants, restoring them to their former glory in no time.
Identifying Signs of Distress:
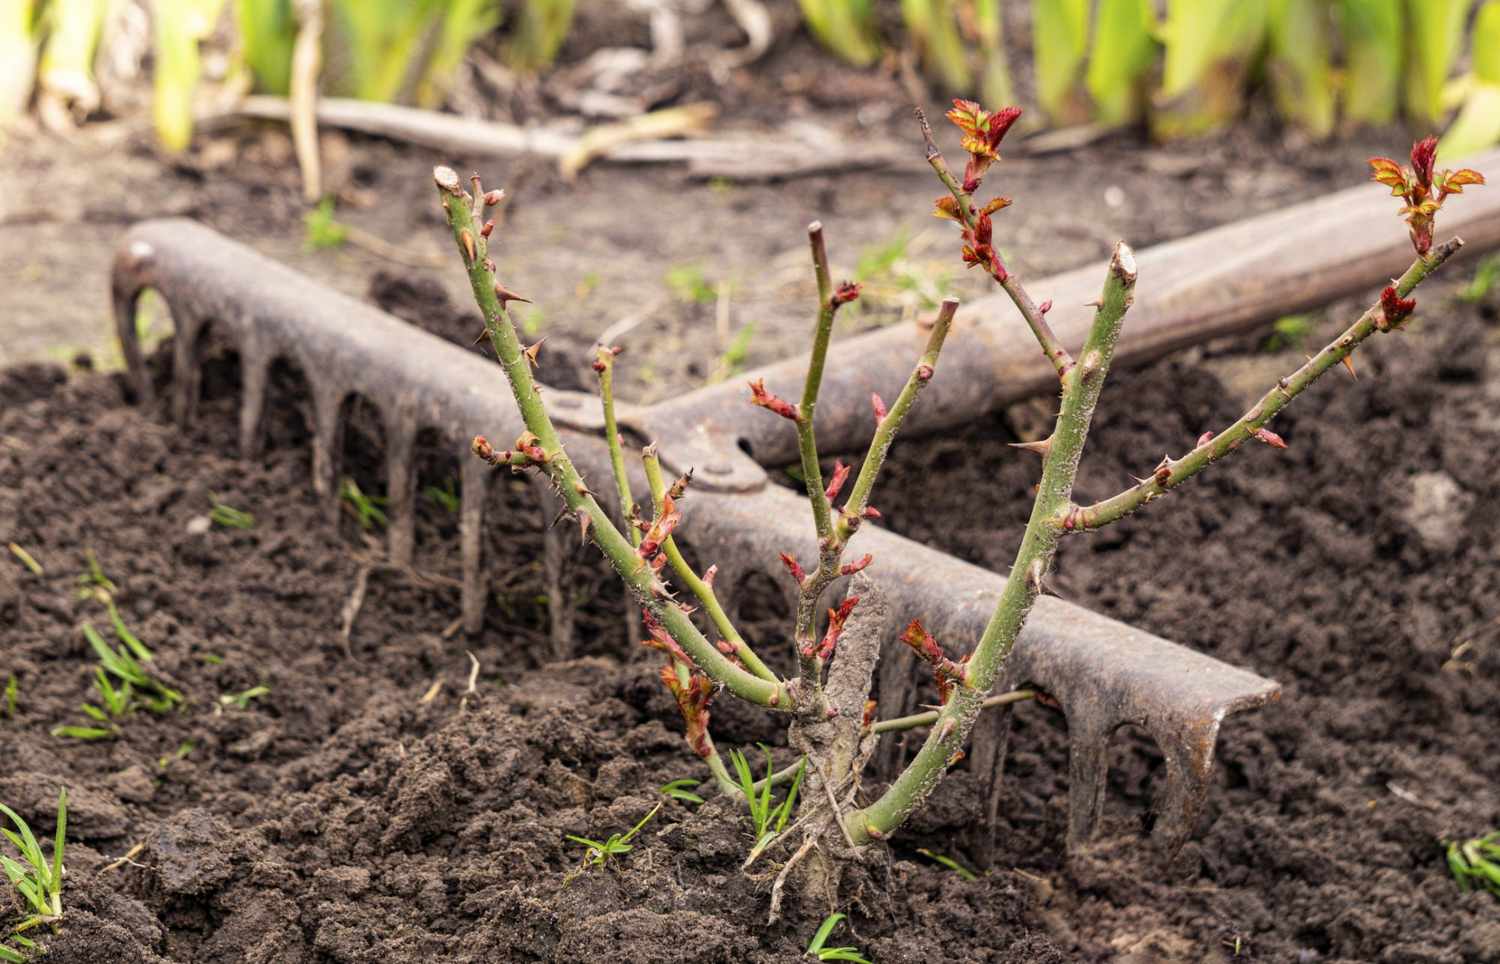
Before attempting to revive your plant, it’s essential to identify the signs of distress. Yellowing leaves, drooping stems, and dry soil are common indicators that your plant is in need of immediate attention.

The Soaking Method:
- Fill a basin or sink with lukewarm water, ensuring that it’s deep enough to fully submerge the plant’s pot.
- Gently remove the plant from its pot and immerse the root ball in the water, allowing it to soak for several seconds to a minute.
- The water will penetrate the dry soil and hydrate the roots, revitalizing the plant and restoring its turgidity.
Trimming and Pruning:
- While the plant is soaking, take the opportunity to trim away any yellowed or dead leaves, stems, or branches using clean, sharp scissors or pruning shears.
- Removing damaged or diseased parts of the plant will promote new growth and improve its overall appearance.
Draining and Repotting:
- After soaking, carefully remove the plant from the water and allow excess moisture to drain away.
- Check the plant’s pot for proper drainage and consider repotting it into fresh, well-draining soil if necessary.
- Place the revitalized plant in a suitable location with adequate sunlight and proper temperature and humidity levels to support its recovery.
Epsom Salt:
- Known as bitter salt, Epsom salt is rich in sulfur and magnesium, making it an outstanding fertilizer for orchid growth.
- To implement this effective solution, add half a glass of Epsom salt to your orchid’s soil once a week. Thoroughly rake the soil to ensure complete absorption.
- This straightforward regimen will not only encourage the orchid to produce stunning flowers but also maintain its lushness throughout the year.

How to revitalize a dry and yellowed plant
- Application on Leaves: For an additional boost, create a homemade Epsom salt mixture. Combine 4 liters of water with two tablespoons of salt, ensuring proper dissolution. Use a spray bottle to moisten the soil and leaves with the prepared mixture. This versatile solution is easily accessible, requiring just one ingredient to keep your orchids thriving for an entire year.
- Considerations for Care: While Epsom salt contributes significantly to orchid health, consider essential factors like temperature and light. Tolerate temperatures between 16 and 24 degrees, with an ideal range of 20 to 22 degrees. Provide indirect light to prevent burns on flowers and leaves. Additionally, use purified water for watering, avoiding tap water rich in limescale. Water your orchids early in the morning to optimize their well-being.
With the simple act of soaking and a little TLC, you’ve breathed new life into your beloved houseplant, restoring its health and beauty for all to admire.
Remember, the key to keeping your plants thriving is attentive care and timely intervention when signs of distress arise. So the next time you notice your plant looking worse for wear, don’t hesitate to give it the rejuvenating treatment it deserves.
Here’s to the green thumb in all of us and the flourishing beauty of our indoor gardens!